
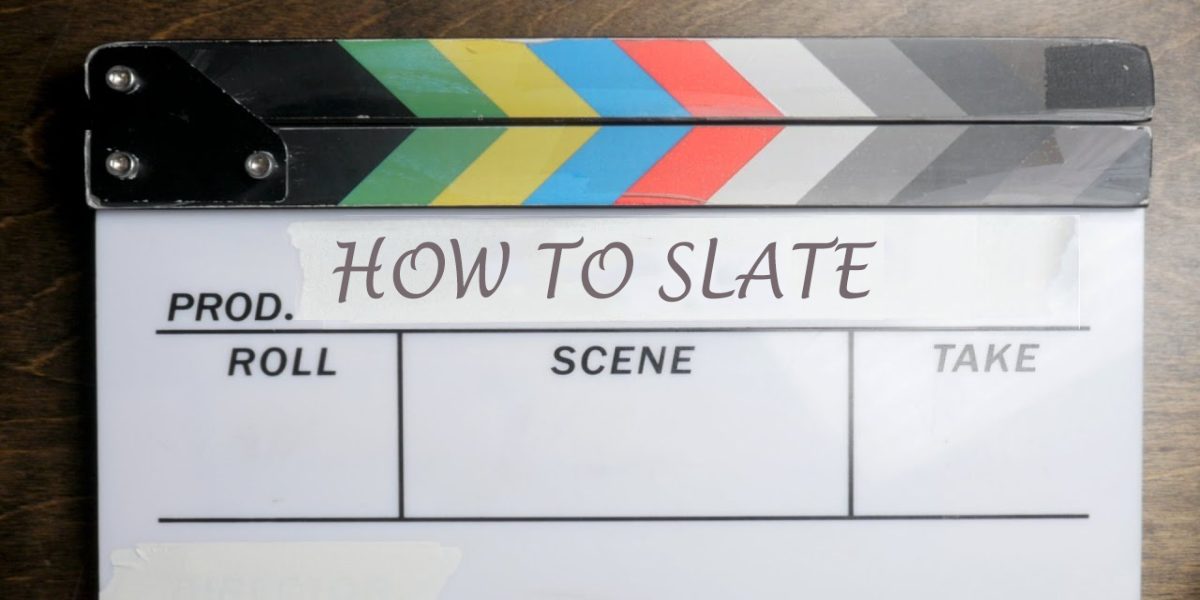
Slating is generally done by the second camera assistant, but if you’re on a smaller set there may not be a 2nd AC and the job will probably be done by the 1st AC. The slate has several purposes, the most important ones being: 1) To identify what scene, take, and shot it is (for the editor), and 2) to sync the sound with the audio.
Here are ten tips on how to properly slate:
- Write large and legibly. The editor is later going to have to read your handwriting, possibly from a small thumbnail so you want to make sure they’ll be able to clearly see all the information.
- The slate should be big in the frame. Standard practice is to place the slate one foot from the lens for every 10mm of focal length. So on a 50mm lens you would want to slate from about 5 feet back.
- Make sure that the slate is already in the frame when the camera begins rolling. Digital cameras use the first image as a thumbnail and this will make the editor’s job of finding circle takes much easier.
- You should hold the slate with one hand and close the marker with the other. This way the slate will stay still while the clapper is in motion, making it easier for the editor to know when to synch sound.
- If you are slating a close-up on an actor, make sure you mark softly. It can be distracting to an actor to have a loud clap in their face right before a take.
- Just before you slate, call out “Marker!”. This lets whoever is synching dailies that the next noise they hear is the slate closing. The sound mixer will generally pre-slate the audio, but if he doesn’t you also need to call the scene and take before marking.
- You should always update the take number immediately. This way if the take is cut and the director wants to go again quickly, you’ll be ready.
- If it’s a MOS (without sound) take then you should put the slate in frame with the clapper closed. Do not mark MOS takes.
- Occasionally, there will be a shot that you cannot slate at the beginning. In this case, you will be tail slating at the end of the shot. You will want to hold the slate upside down at the beginning of the shot, and then jump in at the end of the take, call out “Tail Slate”, then mark.
- Slating for multiple cameras differs between digital and film. If you are shooting film then you would roll a few seconds of the slate on each camera, then at the beginning of the take, you would say “A & B common mark “ before marking. If you are slating for digital then you need to hit each camera’s slate separately. Mark the slates in sequence “A camera mark!”, “B camera mark”, etc. This means each camera will have its own slate with “A”, “B”, or “C” written on it. The letters should also be different colors, red for A, blue for B, etc.